Okay, to be honest assembling your Bible timeline is going to be a little bit of work….all good things are. But you will be creating a lasting resource for your children, something they can return to year after year to build on their knowledge. Creating a timeline can turn into a family project, one that you will cherish as a keepsake of the years you have spent home with your children
Here are some tips for printing out your Bible Timeline: (Print Free Here)
- Print your Cover Sheet on Decorative Paper. We used an extra piece of scrapbooking paper cut to size.
- Print your Blank Timeline Pages Doublesided on Cardstock. For our set, you’ll need about 18 pages printed both sides.
- Print your Timline Cards on Cardstock. You may need to use a stronger glue like rubber cement. We used gluestick, but for longevity, you might want something stronger.
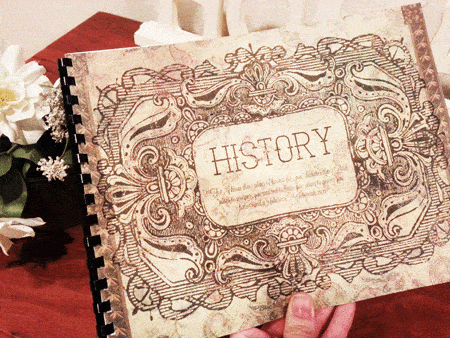
Here are some tips for Binding your Bible Timeline.
This is the binding machine we own and love! Read Why
- If you don’t have a binding machine at home, you cantake your printed files to your local office supply store
for binding. Additionally you can use a three ringnotebook and punch holes across the top of yourpages.
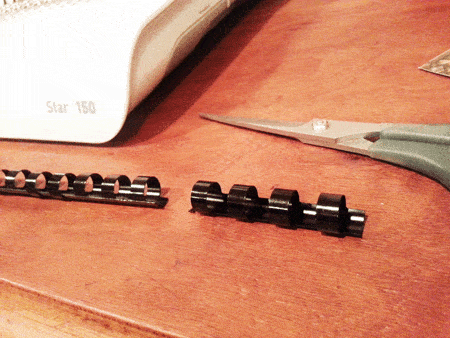
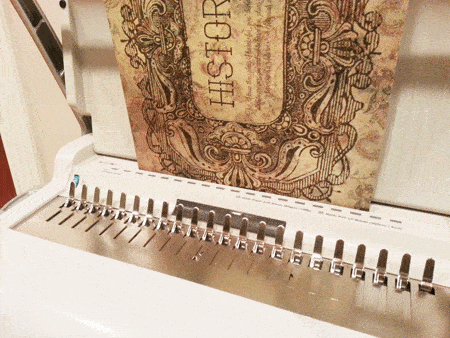
- If you have access to a binding machine, you want tobind your timeline on the left side of your pages.Center your pages in your machine before punchingthe holes. Cut your binding comb to the correct length.
Here are some tips for Dating your Bible Timeline
- Because we’re covering a span of time from 5000 BC to 30AD there are endless possibilities for dating and organizing your timeline.
- Additionally, we’ve focused on key points in history such as Creation, and Holy Week to take an in depth look at what God was doing during that time.
- There may be times when each page in your timeline stands for 250 years or even just the next day in History. Because of this, we’ve left writing space on each Timeline Card for specific dating.
- We’ve done our best to order our Timeline Cards chronologically, but we realize that there are ongoing discussions as to what happened when. For this reason, we’ve left our Timeline Cards without a date, so that you can fill them in with your own dating and facts below the image. (You can view our sources for our decided ordering here)
- Furthermore, we may have left out some key dates and times in world history that you would like to add to your own timeline. We provide a blank template for your personal use here, simply add your own images and print what you need. The font is called Walkway Ultrabold and is available freely online.
- Another benefit to home binding or the three ring binding method is that you can easily add or remove pages as needed.
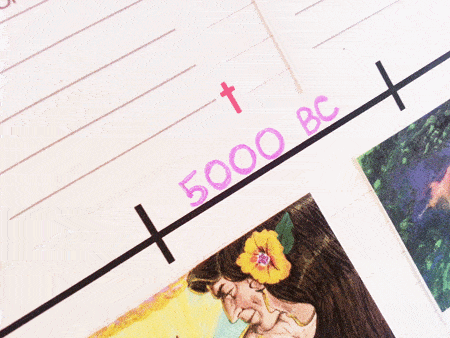
- Write the dates in the center of the Timeline sheets as shown above.
- Write in pencil first, confirm in pen when finished.
- Layout your figures for each page to be sure they fit.
Here is how we personally dated our Bible Timeline. Each date listed below was written on it’s own page either in the
middle or on either side of the page. These are single pages not the span across both open pages.
——–5000 BC———
——–5000 BC———
——–4000 BC———
——–3000 BC———
——–2500 BC——–
——–2100 BC——–
——–2000 BC——–
2000 BC—–1500 BC
1500 BC—————-
——–1400 BC——–
——–1300BC———
——–1200 BC——–
——–1100 BC——–
1000 BC——–900BC
900 BC———800 BC
800 BC———750 BC
750 BC———700 BC
700 BC———600 BC
600 BC———550 BC
550 BC———500 BC
500 BC———450 BC
450 BC———300 BC
300 BC———200 BC
200 BC———100 BC
100 BC———50 BC
50 BC———–0
The Ministry of Jesus Title Page
We then arranged the events of Jesus’ life, teachings and ministry in
order across the top then bottom of each page. The Timeline Cards
are provided in chronological order, so you really could just add these
pages to the second half of your timeline as-is if you like.
We used this reference to determine the order of events in Christ’s
ministry.
